
How to Winterize Your Lawn Mower: A Complete Guide
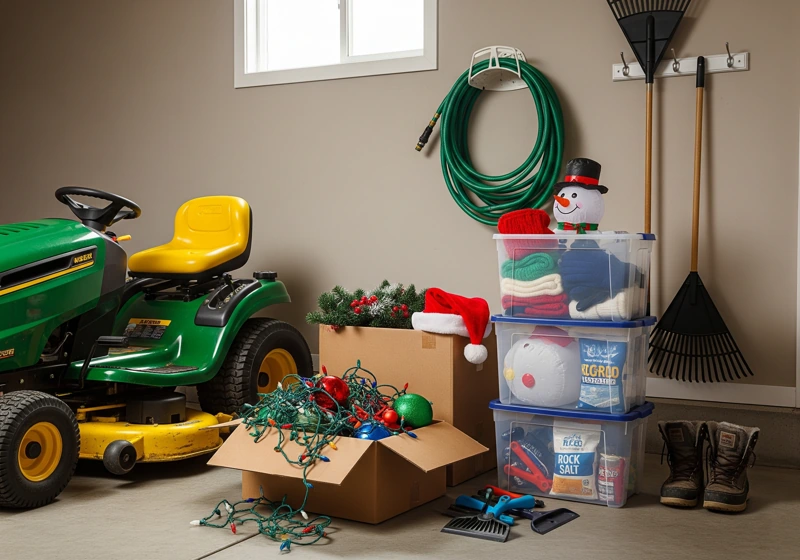
So, you’ve put away the mower for the last time this season, and now it’s sitting in your garage, looking a little sad, next to the Christmas decorations. Here’s the thing nobody tells you when you first buy a mower: what you do in those final 30 minutes of the season can save you hours of frustration (and potentially hundreds of dollars) come spring.
Table of Contents
▼- Why Winterizing Your Lawn Mower Matters
- What You’ll Need for Winterization
- Step-by-Step Winterization Process
- Step 1: Run the Mower Until It’s Warm
- Step 2: Add Fuel Stabilizer
- Step 3: Change the Oil
- Step 4: Clean or Replace the Air Filter
- Step 5: Replace the Spark Plug
- Step 6: Clean the Mower Deck
- Storage Location Considerations
- Common Winterization Mistakes to Avoid
- What About Electric Mowers?
- Spring Startup Checklist
- The Bottom Line
I learned this one the hard way back in 2009 when I skipped winterizing my Honda and came back to find a carburetor that looked like it had been filled with maple syrup. Cost me $180 in repairs and three weeks without my main work mower. Trust me, you don’t want to be that person standing in the repair shop in April while everyone else is already getting their first cuts in.
Why Winterizing Your Lawn Mower Matters
Let me save you some trouble here. Modern fuel – especially the ethanol-blended stuff at most gas stations – turns into varnish when it sits for months. And honestly? That’s perfectly fine for cars that get driven regularly, but your mower’s fuel system is way more sensitive than your truck’s.
Here’s what happens when you skip this step: the fuel degrades, gums up your carburetor, and leaves deposits that can clog jets smaller than a pinhead. Meanwhile, moisture gets into everything, oil breaks down, and metal components start their slow dance with rust. I’ve seen $500 mowers turned into paperweights because someone thought, “I’ll deal with it in spring.”
The good news? Proper winterization takes about 30 minutes and costs maybe $20 in supplies. Compare that to a spring tune-up that’ll run you $120-150 at most shops.
What You’ll Need for Winterization
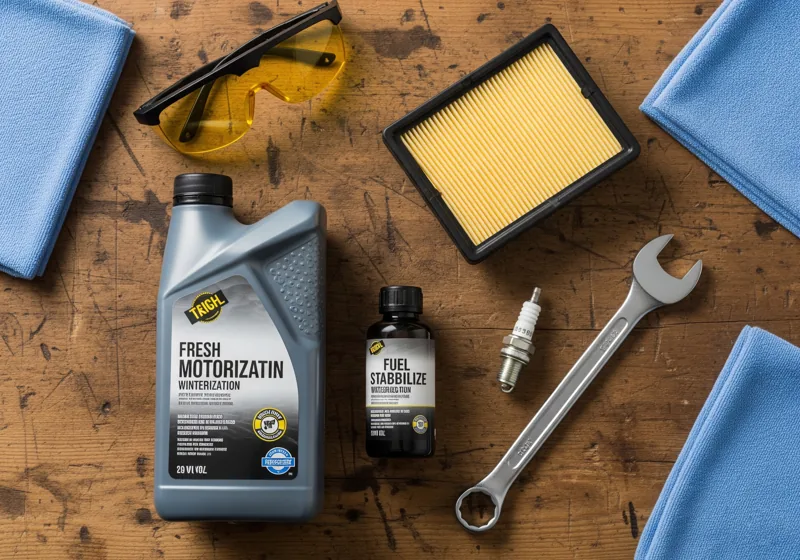
Before we dive in, grab these items:
- Fresh motor oil (check your manual for the right grade – usually SAE 30 or 10W-30)
- Fuel stabilizer (I’m partial to STA-BIL, but Sea Foam works great too)
- New air filter (paper ones run about $8-12)
- Spark plug socket and new plug (around $4-6)
- Shop rags or paper towels
- Safety glasses
- Work gloves
Now, you might be thinking, “Do I need to change the spark plug every year?” For most homeowners, mowing once a week is a common practice. Probably not. But for $5, it’s a cheap insurance policy, and you’ll get easier starts all season long.
Step-by-Step Winterization Process
Step 1: Run the Mower Until It’s Warm
Start her up and let it run for about 5 minutes. This warms up the oil, making it drain more completely, and helps the fuel stabilizer mix properly when we get to that step. Plus, you want to make sure everything’s running smoothly before you put it away – nothing worse than discovering a problem when you need to use it again.
Step 2: Add Fuel Stabilizer
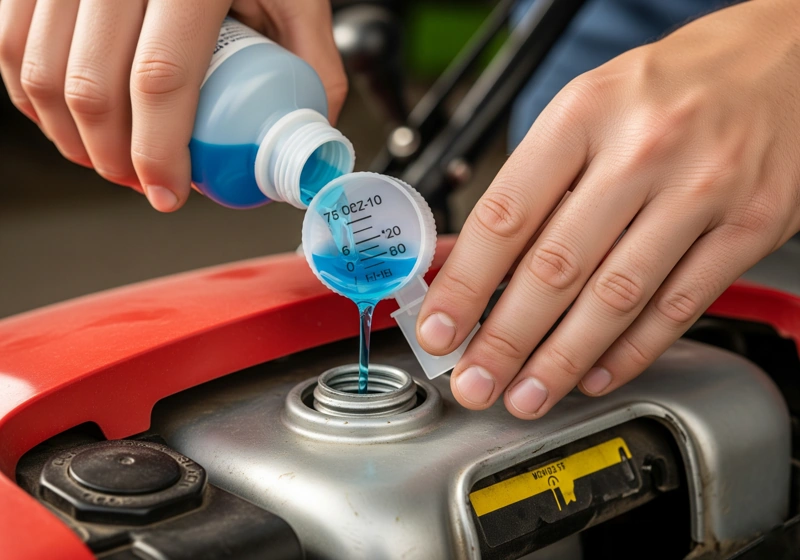
Here’s where most people mess up. They add stabilizer to old fuel that’s been sitting in the tank since July. Don’t do that. Either run the tank nearly empty and add fresh gas with stabilizer, or siphon out the old stuff first.
Add the stabilizer according to the bottle directions – usually 1 ounce treats 2.5 gallons. Run the mower for another 5-10 minutes to circulate the treated fuel through the entire system. This is crucial because you want that stabilizer in every part of the fuel system, not just the tank.
Step 3: Change the Oil
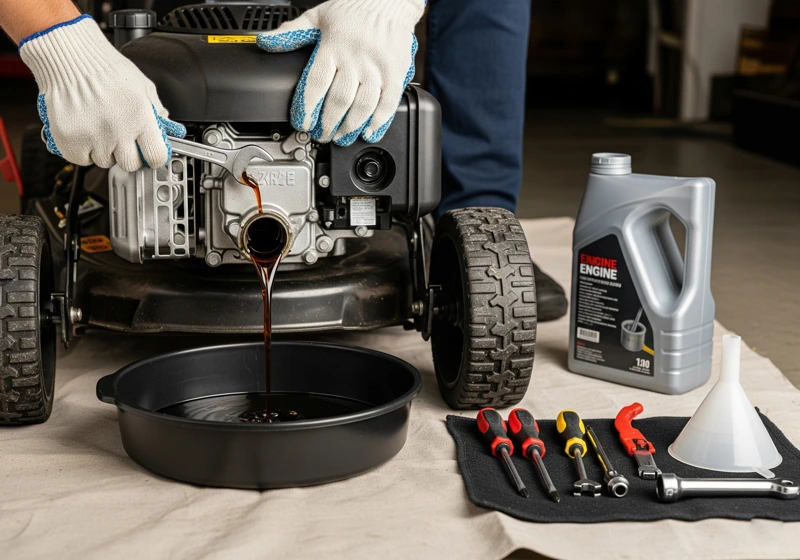
Warm oil drains better and takes more contaminants with it. Position your drain pan (or old milk jug with the top cut off – works great) and remove the drain plug. If your mower doesn’t have a drain plug, you’ll need to tip it on its side. Just make sure the air filter side faces up, or you’ll flood the engine with oil.
Let it drain completely – I usually grab a coffee while I wait. Clean oil should look like honey, not like something you’d change in a deep fryer. Reinstall the drain plug with a new washer if it needs one, then refill with fresh oil. Don’t overfill – check the dipstick and aim for the “full” mark.
Step 4: Clean or Replace the Air Filter
Pull out that air filter and take a look. If it’s paper and looks like it belongs in a vacuum cleaner bag, replace it. If it’s foam (more common on older mowers), you can clean it with warm soapy water, let it dry completely, then apply a light coat of clean motor oil.
A dirty air filter makes your engine work harder and can actually cause it to run rich, which leads to carbon buildup. For $10, a new filter is worth it.
Step 5: Replace the Spark Plug
Remove the old spark plug with your socket wrench. Take a look at the electrode – it should be relatively clean with a small gap. If it’s covered in black soot or the electrode is worn down, you need a new one.
Gap the new plug according to your manual (usually 0.028-0.030 inches) and hand-thread it in. Snug it down with the wrench, but don’t overtighten. A good rule of thumb: once the gasket contacts the head, turn it another 1/8 to 1/4 turn.
Step 6: Clean the Mower Deck
This is where I see a lot of people get lazy, but hear me out. All that dried grass stuck to your deck holds moisture against the metal. Over winter, that moisture turns into rust. Scrape off what you can with a putty knife, then hit it with the hose.
If you’re feeling ambitious, this is a great time to sharpen or replace your blade. A sharp blade makes a world of difference in cut quality and stresses your engine less than a dull one.
Storage Location Considerations
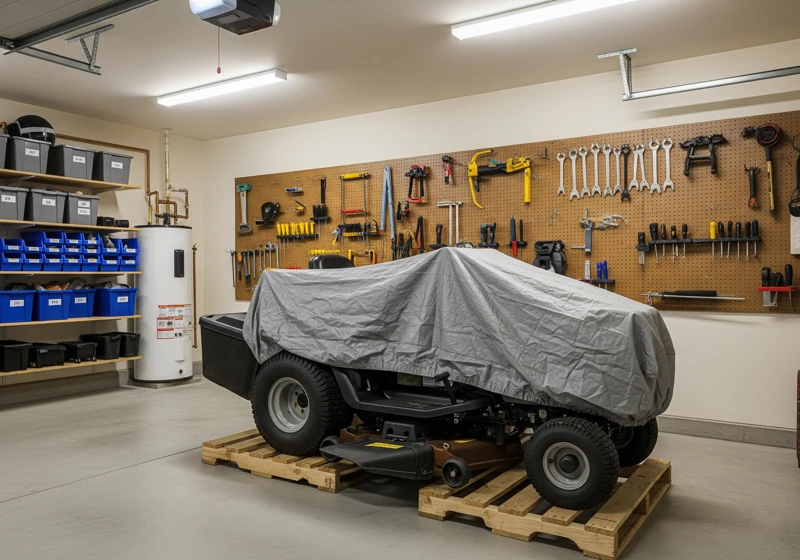
Where you store your mower matters more than you might think. Your garage is usually fine, but avoid these common mistakes:
Don’t store it directly on concrete. Concrete can wick moisture, leading to rust on the deck. Throw down some old carpet or wooden pallets.
Keep it away from your water heater or furnace. Those pilot lights and fuel vapors don’t mix well, even with stabilized gas.
Consider covering it with a breathable tarp. Plastic can trap moisture, but a canvas or fabric cover protects from dust while allowing air circulation.
Common Winterization Mistakes to Avoid
After 15 years in the business, I’ve seen every mistake in the book. Here are the big ones:
Running the tank completely dry. Some old-timers swear by this, but modern engines have more complex fuel systems. You’re better off with stabilized fuel than trying to get every drop out.
Using last year’s oil. Oil doesn’t really “go bad” sitting on the shelf, but if you’ve got a partial container that’s been open for two years, just buy fresh. Moisture gets into everything.
Forgetting about the string trimmer. Your mower isn’t the only small engine that needs attention. The same rules apply to your weed eater, leaf blower, and chainsaw.
Waiting until the first warm day in spring. By then, you’ve already missed the boat on some of this stuff. Do it now while it’s fresh in your mind.
What About Electric Mowers?
If you’ve got a battery-powered mower, winterization is simpler but still important. Remove the battery and store it indoors where temperatures stay above freezing. Most lithium batteries prefer to be stored with about a 40-60% charge, not full or dead.
Clean the deck just like you would on a gas mower, and check all the connections for corrosion. Electric mowers still have bearings and metal components that need attention.
Spring Startup Checklist
When you fire up your mower next spring, here’s what to check:
- Oil level (might need a top-off)
- Tire pressure (cold weather drops it)
- Blade sharpness
- Belt condition and tension
- Safety features (blade brake, dead man switch)
If you followed these winterization steps, you should get a clean start on the first or second pull. If not, don’t panic – sometimes carburetors need a few tries to get the stabilized fuel flowing properly.
The Bottom Line
Look, I get it. It’s cold, you’re tired of thinking about lawn care, and holiday shopping lists are calling your name. But those 30 minutes you spend winterizing now will save you serious headaches come spring.
I’ve been doing this for two decades, and I can count on one hand the number of properly winterized mowers that didn’t start right up in April. Meanwhile, I’ve got a whole spreadsheet of repair costs from mowers that skipped these steps.
Your mower was a significant investment – probably $300-800 for most homeowners. Protect that investment with some basic seasonal maintenance. And honestly? There’s something satisfying about checking this off your to-do list and knowing your equipment will be ready when you need it.
Plus, when your neighbor is at the repair shop in April, wondering why their mower sounds like a washing machine full of rocks, you’ll already be two weeks ahead on your spring lawn care routine. And trust me, that head start makes all the difference when it comes to having the best-looking yard on the block.
Yes, lawn mowers need to be winterized if you live in an area with cold winters. Skipping winterization can lead to fuel system problems, engine damage from old oil, and costly spring repairs. Modern ethanol-blended fuels turn into varnish when sitting for months, which can clog your carburetor and fuel lines. Proper winterization takes about 30 minutes but can save you $100-200 in repair costs.
Leaving untreated gas in your mower over winter is one of the worst mistakes you can make. The fuel will degrade and form a varnish-like substance that clogs your carburetor jets, fuel lines, and injectors. This gummy residue can completely block fuel flow, making your mower impossible to start in the spring. You’ll likely need a carburetor cleaning or replacement, which costs $80-180 at most repair shops.
Using a fuel stabilizer is better than draining the gas completely. While some old-timers prefer running the tank dry, modern mowers have complex fuel systems with pumps and lines that benefit from having stabilized fuel present. Add fresh gas with stabilizer, run the mower for 5-10 minutes to circulate it through the system, then store with a nearly full tank. This prevents condensation and keeps seals lubricated.
Yes, you should remove the battery from your electric or battery-powered mower for winter storage. Store it indoors where temperatures stay above freezing, ideally at 40-60% charge. Cold temperatures can permanently damage lithium batteries and reduce their lifespan. If you have a gas mower with an electric start, disconnect the battery to prevent it from slowly draining over winter.
If you properly winterized your mower, it should start on the first or second pull. Check the oil level, ensure the fuel shut-off valve is open, and prime the engine if needed. If it doesn’t start easily, the fuel may need time to circulate through the system. For mowers that weren’t winterized, you may need to drain old fuel, change the oil, and possibly clean the carburetor before it will run properly.
No, don’t drain the oil completely, but you should change it to fresh oil before storage. Old oil contains contaminants and moisture that can cause engine damage over winter. Fresh oil provides better protection for internal components during storage. Check the oil level in spring and top off if needed, as temperature changes can affect levels slightly.
